In this article, I wrote about a boot loader that uses serial communication.
I think its main use will be for firmware updates.
Even if you don’t have a tool for writing, you can update the firmware using a serial port.
However, you will still need a PC for writing and a serial communication environment (RS-232C or USB serial I/F).
Here is the development environment at the time of submission.
PC: Windows 10 OS
IDE: STM32CubeIDE Version1.3.0
Board: STM32Nucleo-F401RE
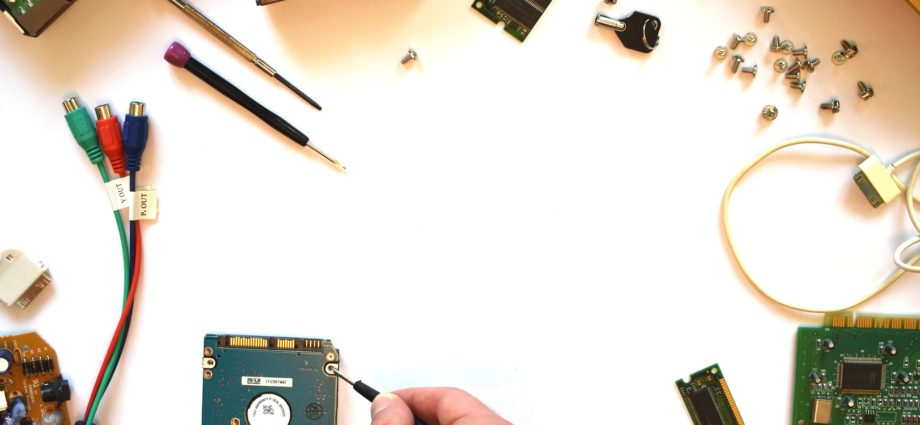
The following tools are required for this project.
USB serial conversion module
PC software Flasher-STM32
USB serial converter module
This module uses FTDI’s FT234XD device.
Please see here for more details.
Sorry, it’s from a Japanese manufacturer.
The following is a list of items that I have actually tested.
PC Software Flasher-STM32
I thought I would have to make a PC software, but when I looked at the ST site, I found that it exists.
It says “Flash Loader Demo”, but I wonder if there are any restrictions…
You can download it from here.
Anyway, let’s try to run it.
It may be faster than reading the manual.
Application note for the boot loader
Please get AN2606 from here and read it.
There are a lot of books, but you only need to read the part about the device you need, so it’s not too much.
You can also use other communication environments to run the bootloader, not just serial, so this book covers those as well.
Imaging the connection
Connect with a cross as shown below.

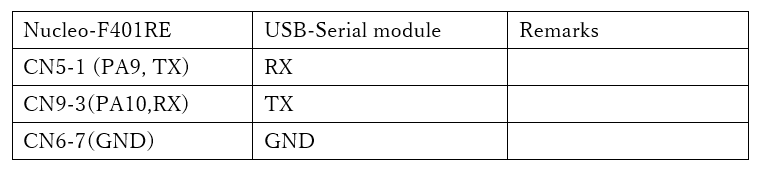
Terminal settings and connections
Connect as shown in the table below.
From AN2606, the Nucleo-F401RE needs to be in pattern 1 mode in order to boot the bootloader.
There are a number of different devices and a number of different patterns.
Pattern 1 is
Boot0 pin = 1, Boot1 pin = 0.
From the schematic, the Boot1 pin is 0 (GND), so you can leave it as it is.
The Boot0 pin is pulled down by a resistor, so it needs to be connected to VDD.
You can download the schematic from here, so please check it.
We have connected 5 (VDD) and 7 (Boot0) of CN7.
Turn off the Nucleo board and then turn it back on.
Run the PC software
Install and run the executable.
In this environment, the loader software was installed in the following folder.
C:\blur1}Program Files (x86)\STMicroelectronics\Software\Flash Loader Demo
STMFlashLoader Demo.exe
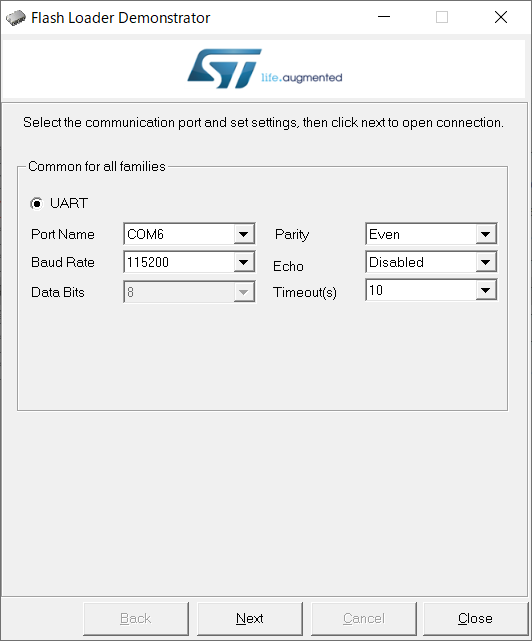
Set the Port Name to the COM port of the USB serial module and press the Next button.
Otherwise, you can leave it as it is.
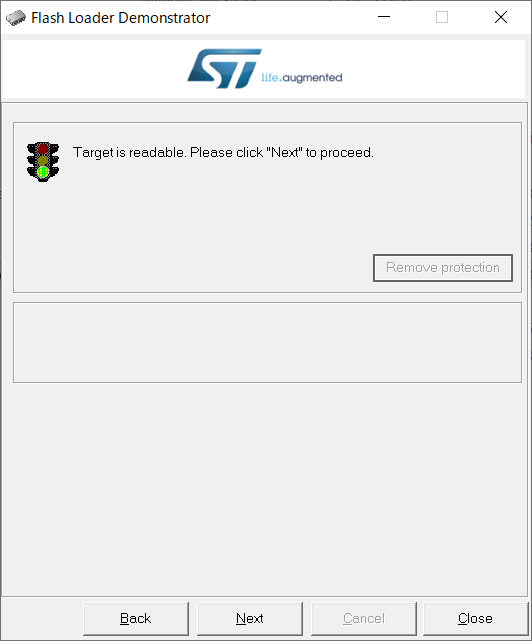
If you are ready, you will see this screen and click the Next button.
If you do not get this screen, please review your connection and settings.
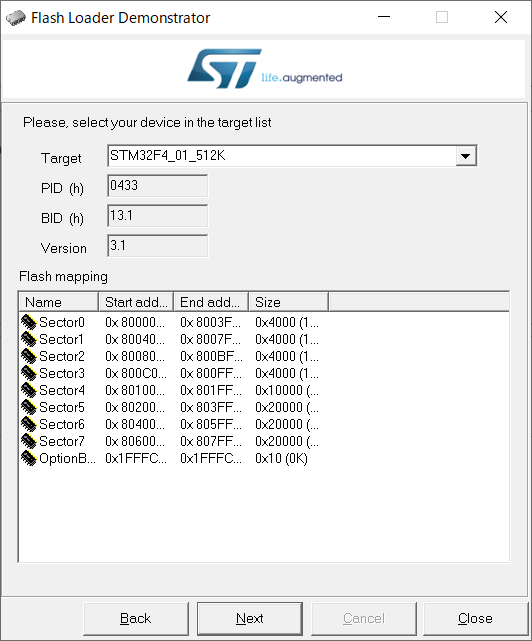
There were no options in the Target list.
Click the Next button.

Now select Download to Device and choose the file to write.
If you are using the STM32CubeIDE, it will create a file with the extension bin, so you can just select that.
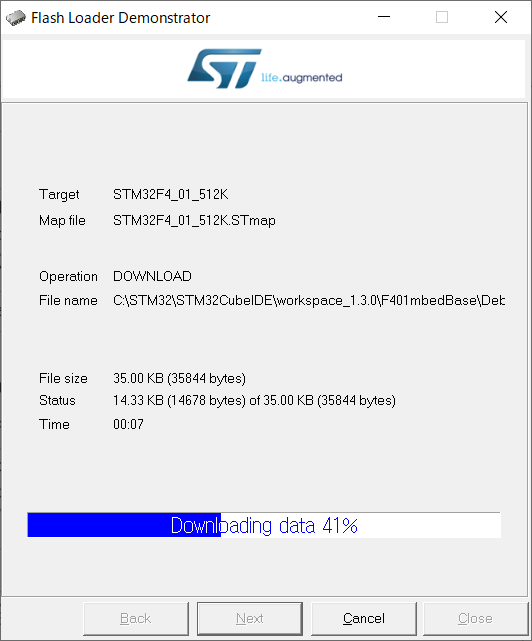
Start writing.
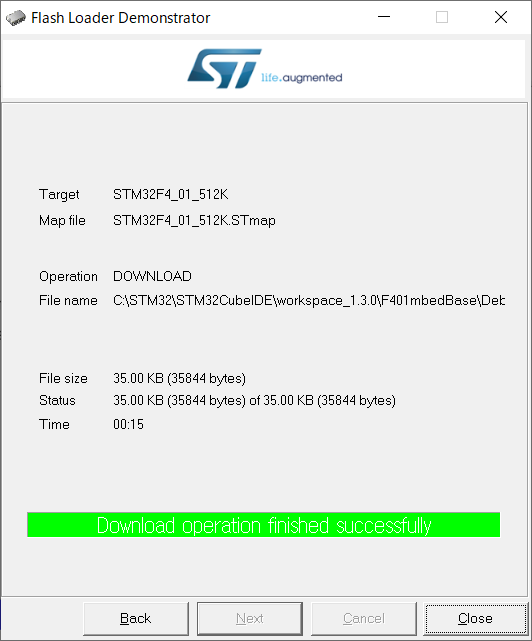
When the writing is finished, a yellow-green strip will appear.
Once the board is turned off and disconnected, and then rebooted, it works with the written program.
The contents of this article are not guaranteed to work.
Please use it at your own risk after sufficient verification.


