
This time we are talking about the Mbed cloud.
If you are not familiar with Mbed, please visit here.
The development environment is available in the cloud, so you can run your program without building an environment.
If you have a compatible board and an internet connection, you can register as a user and try it out right away.
If you are a new user, click the Compiler button on the upper right of here to go to the registration screen, and register. Of course, it’s free.
You will need your email address, username, and password, so make a note of them so you don’t forget them.
When Mbed first starts, you will see “No device selected” in the upper right corner of the screen.
Then on the following screen, select Add Board in the lower left corner.
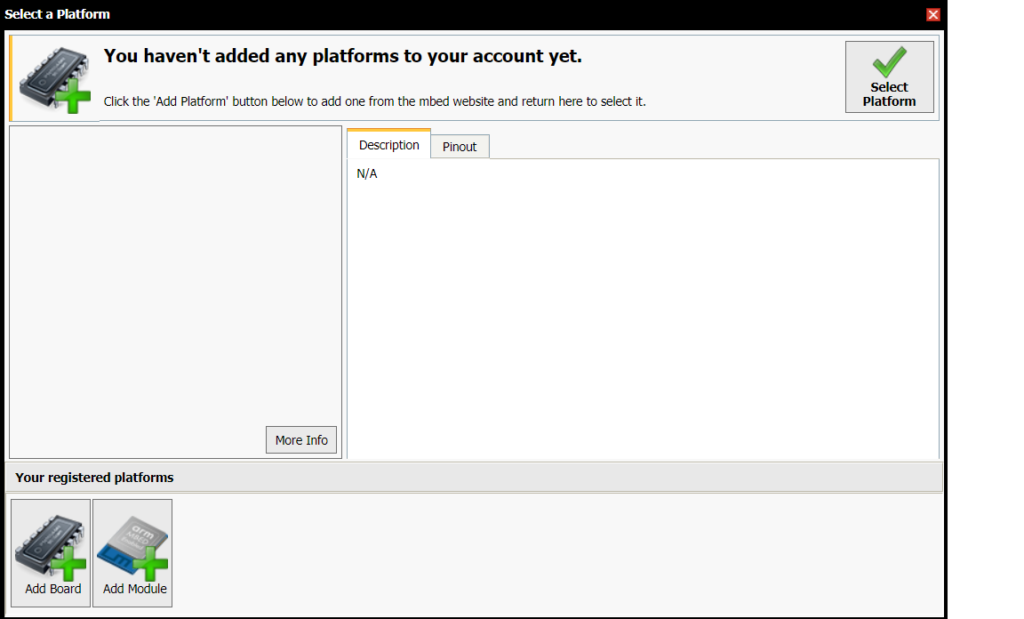
This will take you to the development board site.
On the left side of the screen, there are a series of checkboxes, and these are the filters.
Check the box for the target core Cortex-M4 and the target vendor STMicroelectronics.
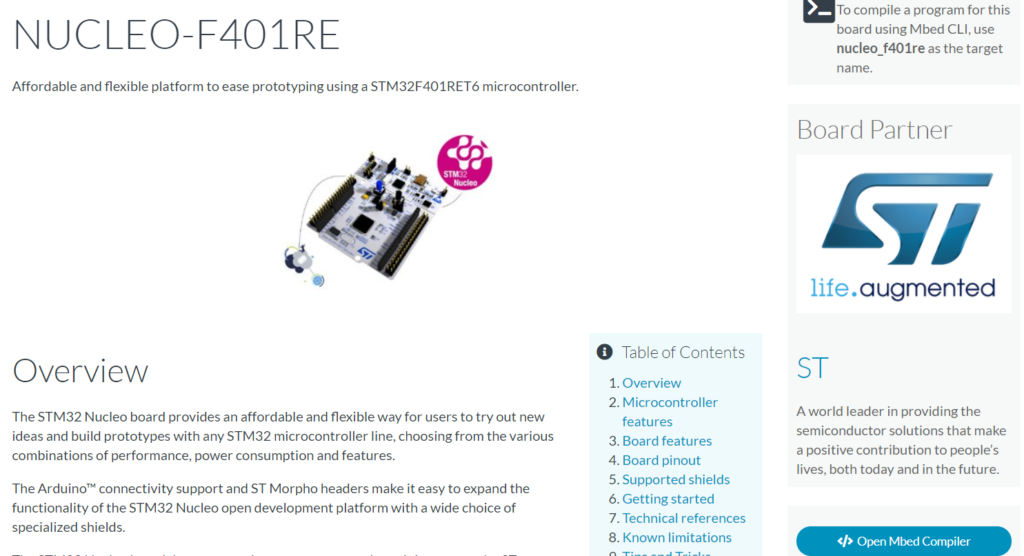
I have used the NUCLEO-F401RE board here to explain the IDE and so on.
Find and select NUCLEO-F401RE, the board you have, from the board list.
On the next screen, select Open Mbed Compiler in the lower right corner.
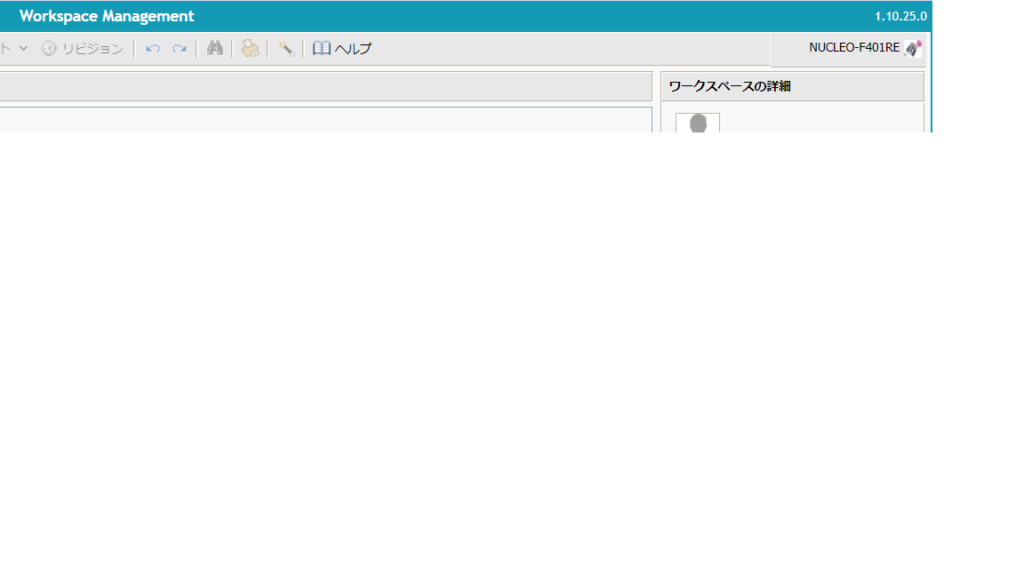
NUCLEO-F401RE” is now displayed in the upper right corner of the Mbed Cloud Compiler screen.
Press the Import – Search button in the menu to see the list of programs and double click on mbed_blinky.
Double click on main.cpp in the program workspace and you will see the following code.
#include "mbed.h"

DigitalOut myled(LED1);

int main() {
    while(1) {
        myled = 1;
        wait(0.2);
        myled = 0;
        wait(0.2);
    }
}
.
Select Compile from the menu and the file mbed_blinky.NUCLEOF401RE.bin will be downloaded in the bottom left corner of the screen.
If you connect the STM32F401RE board to your PC with a USB cable, the board will be recognized as a drive.
In our case, it will say NODE_F401RE(D:). Drag and drop the file mbed_blinky.NUCLEOF401RE.bin to this location.
The compiled program will now be written to the board and the program will start running.
If the green LED blinks, you have succeeded.
You don’t need to build a development environment and writing the program is easy, so you can try it out easily.
Needless to say, the source code above is for L-tica.
DigitalOut is a C++ class for GPIO output.
HAL is also a bit abstract, but you can see that Mbed can be written with even less source code than HAL.
You can find and use source code created by various people at here.
There are various classes such as I2C, SPI, SD card manipulation, etc., so please try them out.
If you are planning to learn C++, it may be a good place to start.


